

Tools
A tool is a small app that opens in a window of its own from the Tools page: a planner, a generator, a calculator. It’s a short JavaScript module with some HTML and CSS, like a custom dashboard widget, and it works with your library: it can browse and make collections, find models, read their files, and save the models it makes.
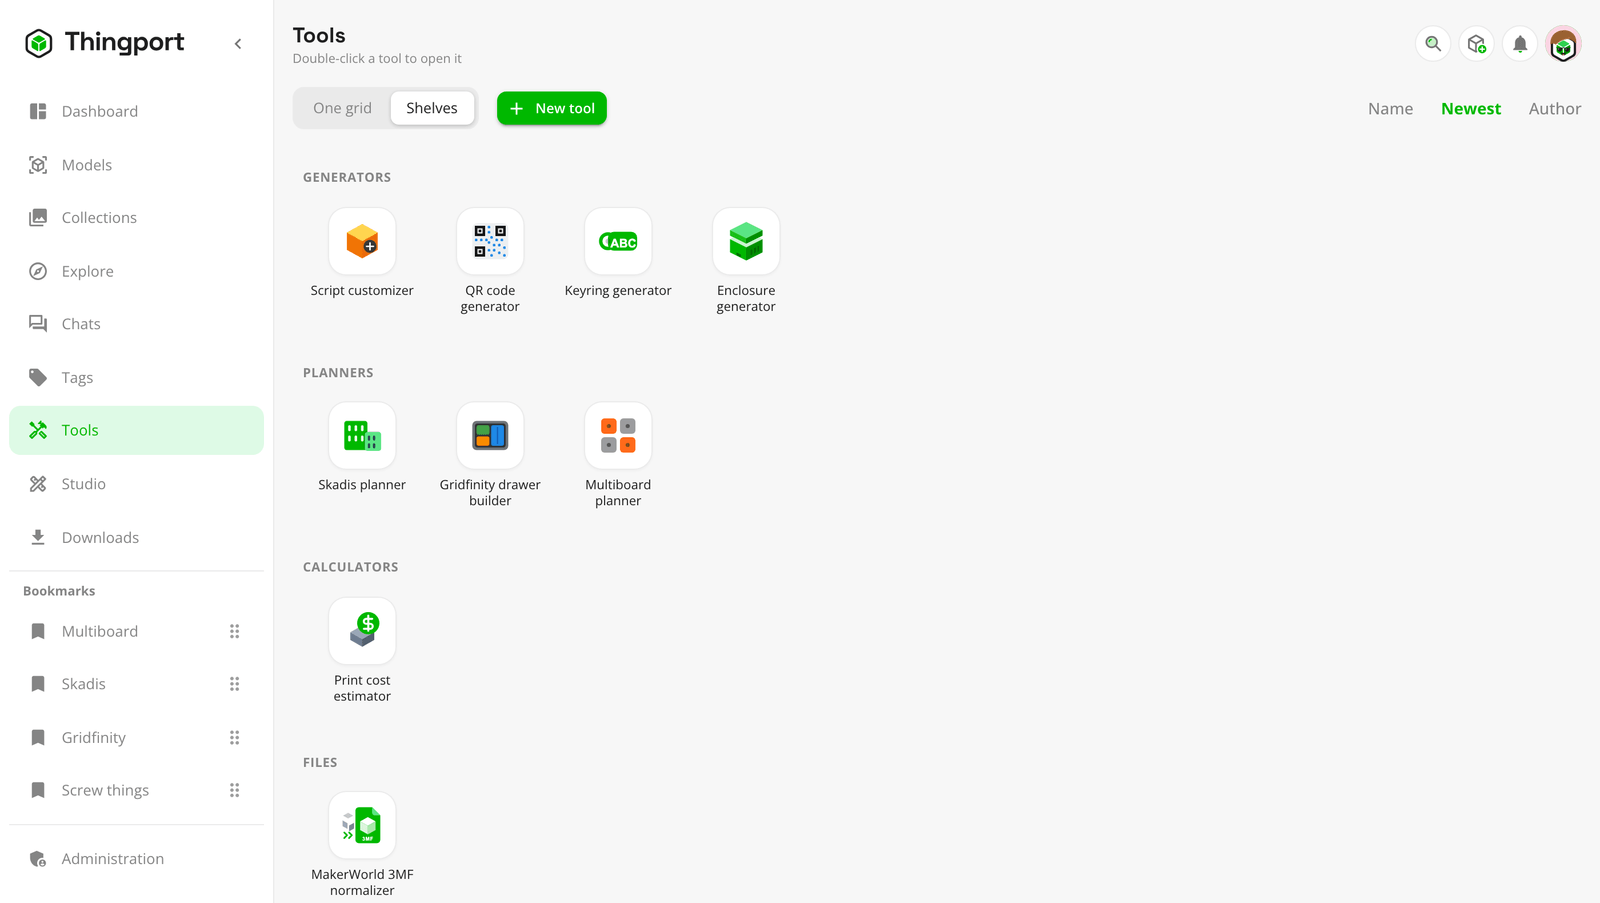
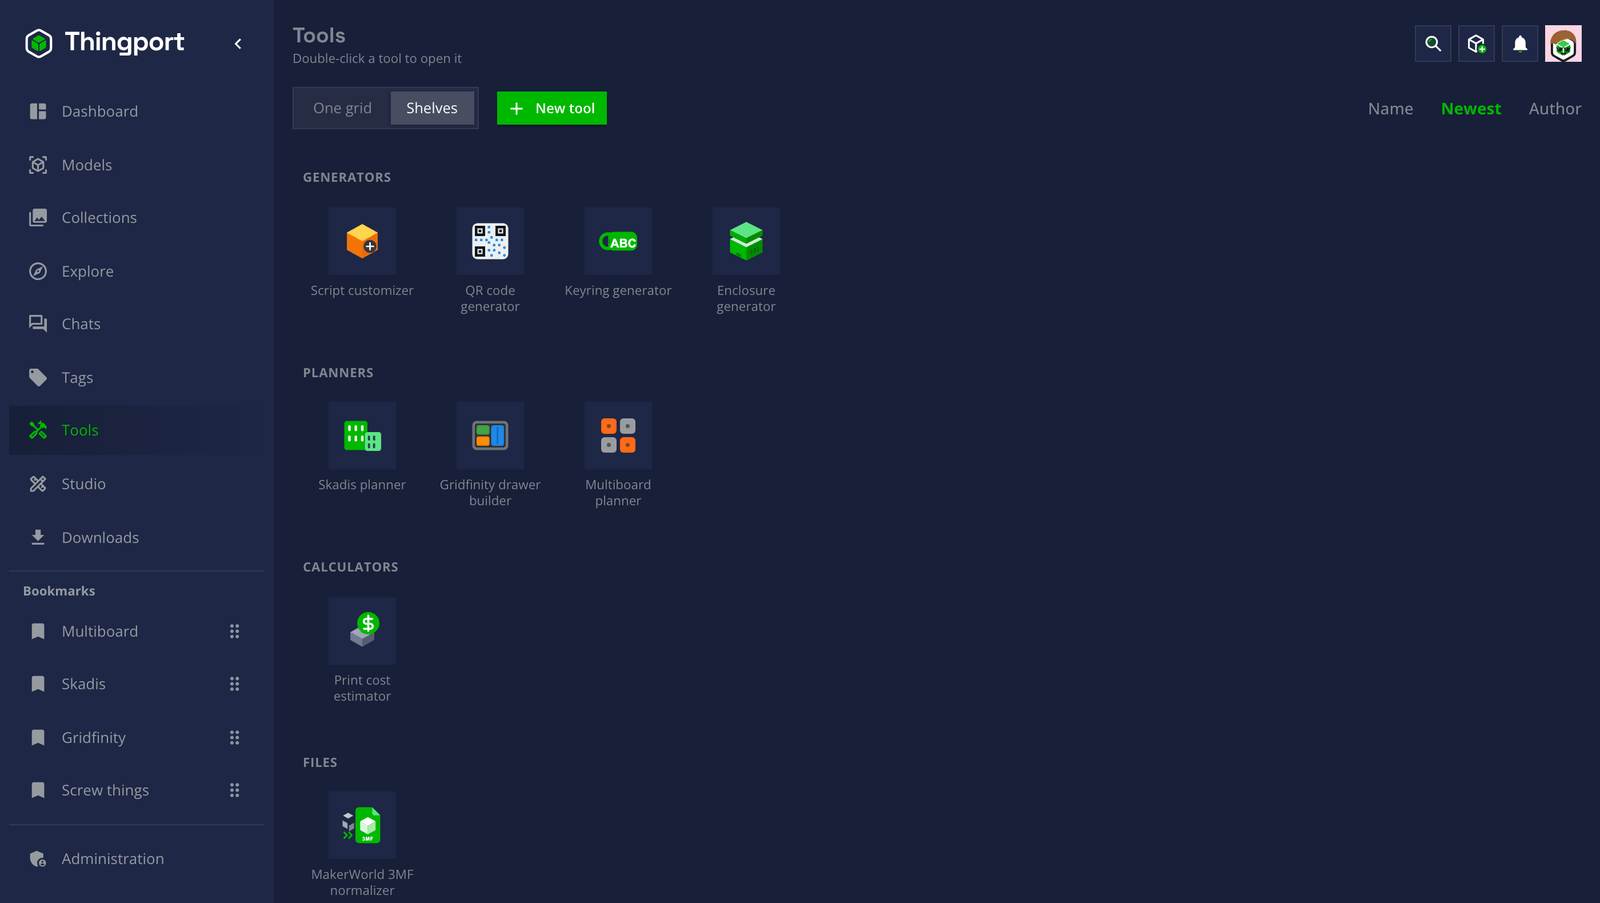
Open Tools in the sidebar. Double-click a tool to open it, or press Enter on it; right-click it, or press
the context menu key, for About, Its models and, on your own tools, Edit and Delete (an admin also gets
Uninstall on an installed one). From anywhere, ⌘S (CtrlS) opens search,
where !tool lists them: every tool you can open is there by name, and picking one opens its window. An admin can open
an installed tool from Administration → Tools as well, with Open in its right-click menu or in its details.
Arranging them
Section titled “Arranging them”The row above the icons sets the page up, and what you choose is kept on your account, so it opens the same way on every device:
- Show as — Shelves, which the page starts on, splits the tools into Generators, Planners, Calculators, Files, Library and Other, with a heading each and empty shelves left out; One grid puts the installed tools first and then your own.
- The order, on the right: by Name, Newest — where the page starts — or Author, as the models page orders its grid.
- Where each tool sits: drag its icon onto another shelf, or right-click it and pick one under Move to. While a tool is in the air the empty shelves appear too, so it can be dropped on one. A tool starts on the shelf its own metadata names, and moving it is yours alone — an update to the tool won’t move it back.
The tools in the repository
Section titled “The tools in the repository”Nine come with Thingport, for an admin to install:
| Tool | Shelf | What it does |
|---|---|---|
| Multiboard planner | Planners | Plans a Multiboard wall and every tile and mount to print it. It draws the plates itself and brings the 13 joints. |
| Gridfinity drawer builder | Planners | Fits a Gridfinity baseplate and bins to a drawer, cut to your printer’s bed, and saves the set as one model. |
| Skadis planner | Planners | Plans a wall of 3D-printed IKEA Skadis boards sized to your bed, with the mounts and the print order. It brings its 21 boards, mounts and spacers from MakerWorld. |
| Enclosure generator | Generators | A case for electronics: box and lid with screws or snaps, PCB standoffs, port cutouts, vents and text. |
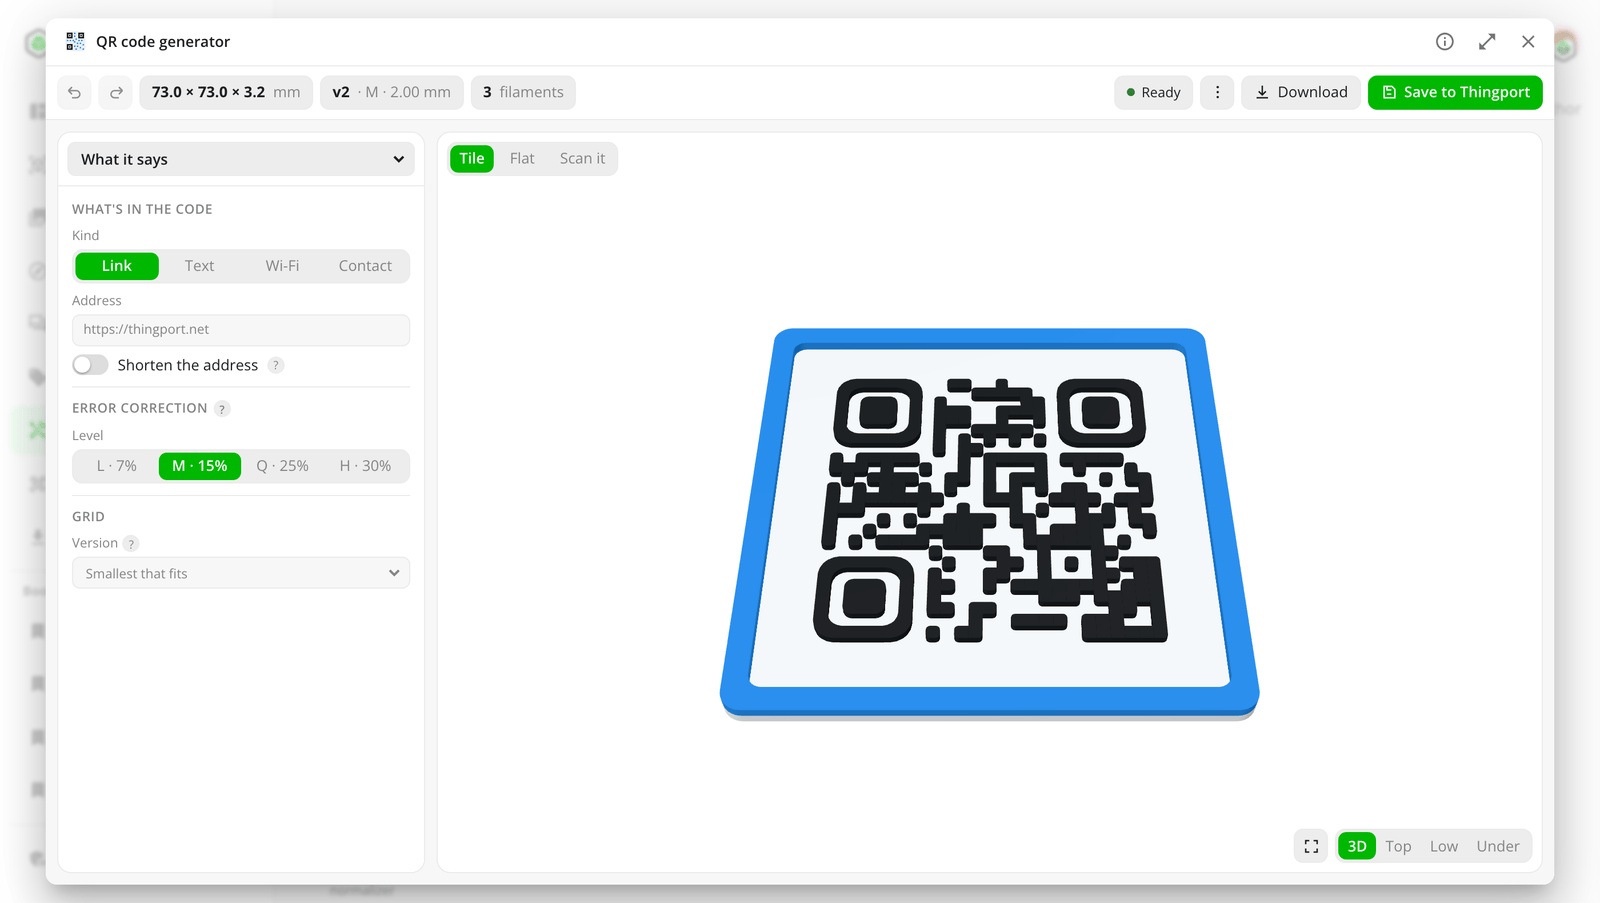
| QR code generator | Generators | A printable QR code for a link, text, a Wi-Fi network or a contact, as a 3MF with a part per filament. |
| Keyring generator | Generators | Your text as a keyring, with key rings and magnet pockets, in a 3MF that gives each piece its filament. |
| Script customizer | Generators | Generates a model again from an OpenSCAD script: the one a model in your library came with, or a .scad file. |
| Print cost estimator | Calculators | A model’s print time, filament and real cost, and the price to charge for the margin you want. |
| MakerWorld 3MF normalizer | Files | Makes Bambu Studio and MakerWorld 3MFs open in other slicers with their colours, plates and print settings. |
A model that came with its script doesn’t need the Script customizer: Customize… on its own page opens its parameters whether the tool is installed or not.
For admins
Section titled “For admins”Administration → Tools has three parts.
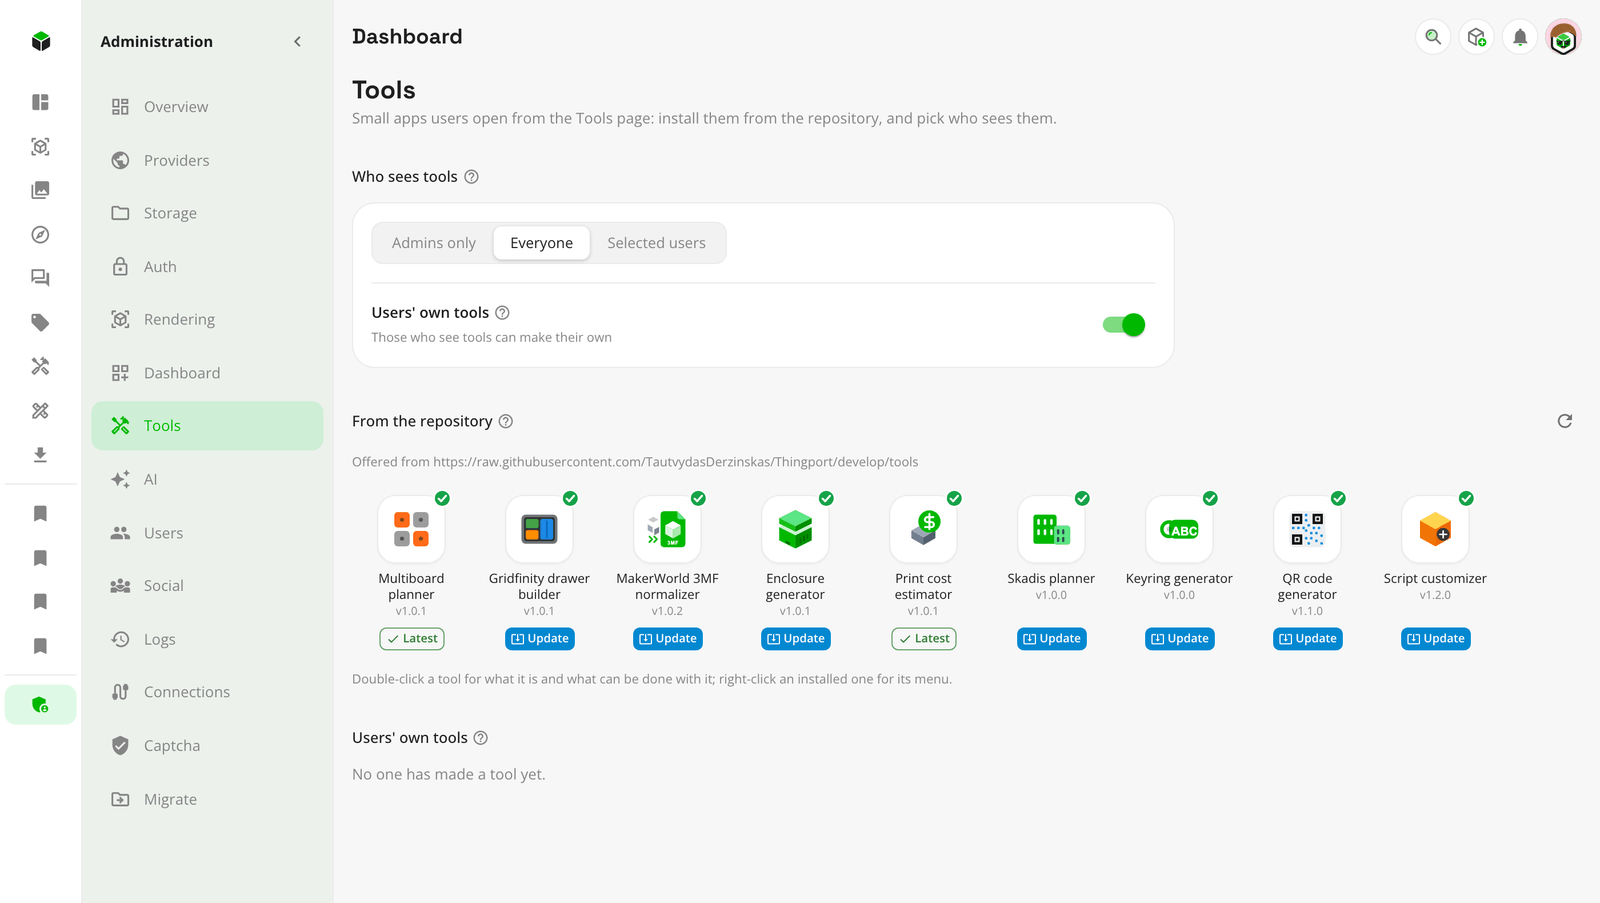
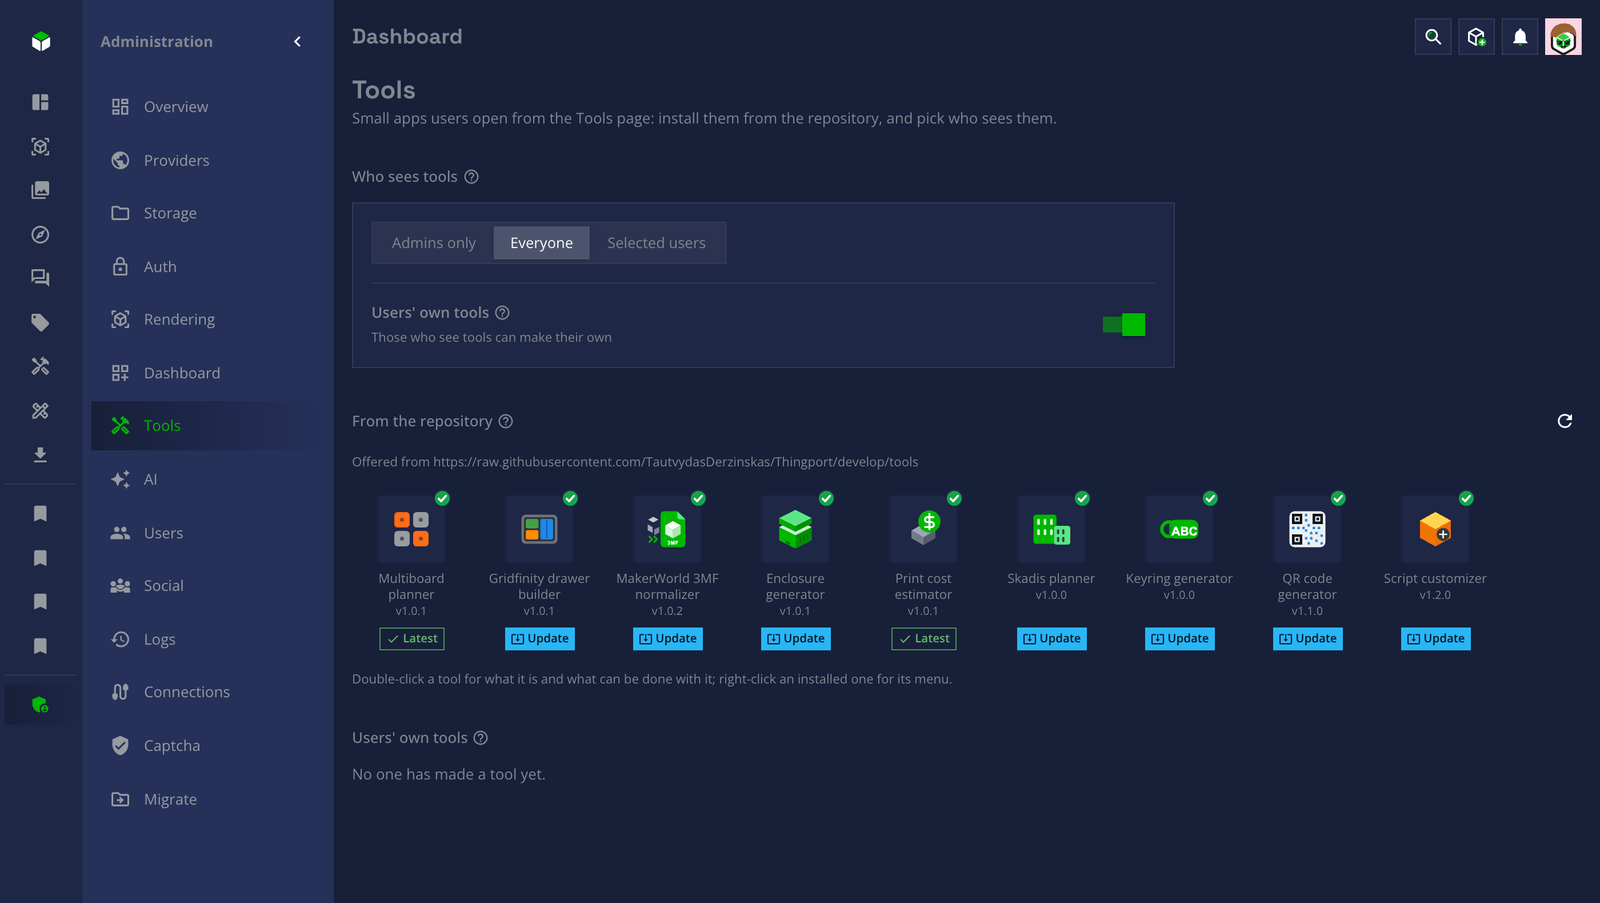
- Who sees tools: admins only, everyone, or admins and the users you pick; a new Thingport starts on everyone. Only they see Tools in the sidebar and get the models tools bring. Users’ own tools lets them also make their own, in the editor below; it’s off at first.
- From the repository: the tools in the Thingport repository’s
toolsfolder, none of them installed until you install it. Double-click one, or press Enter on it, for its details: what it does, how many models it brings, and screenshots to look through first (click one to see them large, and the arrow keys move between them). Install there makes it available to everyone who sees tools. Under each installed tool, a blue Update chip means the repository has a newer version, which one click takes, and a green Latest that it hasn’t; neither shows while the repository can’t be read. Right-click an installed tool to Open it, Fetch missing models when some haven’t come in, or Uninstall it. - Users’ own tools: the tools users made, and whose they are.
Tools that bring models
Section titled “Tools that bring models”A tool may need models: a wall planner its mounts, for example. They come in a collection of their own, named Tool: and what the tool calls it, such as Tool: Multiboard models, in the library of everyone who sees tools, listed after their own collections. They open, download and go to a slicer like any other, but neither they nor the collection can be edited or deleted; they go, from every library, when you uninstall the tool. A user who loses access to tools loses them too, and gets them back with it.
The collection is where they are and the only place they are listed: a planner with two hundred parts would otherwise bury your own models under it, so they stay out of the models page and its categories. Search still finds them. Favourite one and it shows in Favourites, as anything you favourite does.
An admin may install a tool without them — they can run to gigabytes — by switching off Import its models as
they install it, and import them later with Import its models in its details. An update, from its chip or its
details, brings them only where this Thingport instance already has them, so a tool installed without them stays that
way. Meanwhile a tool can fetch just the few that a piece of work needs, through fetchToolModels: one from a model
page is imported then through this Thingport instance’s first admin account, with its connection to that site, while the
tool’s own files come only with Import its models.
The files behind them are the tool’s, and are kept once for the instance however many people use the tool — parts that take a gigabyte take a gigabyte, not a gigabyte per person. Each user still has their own model, in their own collection and language; what they share is the bytes on disk.
A tool’s models are either files in its repository folder, such as the Multiboard planner’s joints, or model pages Thingport imports when you install it, as you: for designs that may be downloaded but not passed on, such as the Skadis planner’s boards from MakerWorld. For those, connect the provider first (Configuration → Providers). The tool’s details show how many have come in; a provider that limits daily downloads, or a sign-in that’s missing, stops the fetch, and Fetch missing models tries the rest again later.
Have an AI write one
Section titled “Have an AI write one”With Users’ own tools on, the quickest way to get a tool is to describe it to an AI assistant connected to Thingport.
- Connect your assistant over MCP with your API token.
- A new token already allows Save a tool (
save_tool) and Upload an icon (upload_icon). For the tool’s icon, the assistant searches Thingport’s own icons withlist_icons, and uploads an SVG of its own when none fits. - Ask for what you want, e.g. “Make me a Thingport tool that turns a few words into a printable label and saves it
to my library.” The assistant reads the
tool_guidetool first, which teaches it the format below, then saves the tool. - Open it from Tools in the sidebar. To change it, ask again:
list_toolslets the assistant read back the script, the HTML and the labels it wrote before.
Build with an AI assistant has more: the permissions it needs, example prompts, and checking what it made.
Use AI, beside the parts of the New tool editor, shows these steps as well, with three example prompts to copy. Its Connect an AI gives the command or settings for Claude Code, Claude, ChatGPT, Codex CLI, Cursor and VS Code.
A tool an assistant saves is one of your own, so the same warning applies: its script runs in your browser with your access to Thingport. Read what it wrote in the editor if you’re unsure, and remember that it can’t bring models of its own — only a tool from the repository does that.
Making your own
Section titled “Making your own”With Users’ own tools on, New tool on the Tools page opens the editor:
- Details: its name, folder name, description, icon, version, author, category, the size its window opens at, and the hosts it may reach. Saving one with the same folder name replaces it. The category is the shelf the Tools page starts it on; anyone using it can move it themselves.
- Script: an ES module. The editor starts with a working tool, Cube maker, that uses most of what a tool can do; the SDK reference beside it lists the rest, and the full reference has each member in detail.
- HTML & CSS: markup and a
<style>block, put into the window before the script runs. Scope the styles to a class of your own so they stay in the tool. The theme is already on the window as CSS variables —--tp-accent,--tp-accent-ink,--tp-background,--tp-paper,--tp-text,--tp-text-muted,--tp-divider,--tp-error,--tp-warning,--tp-successand--tp-font— so a stylesheet can use them without the script copying anything. Text and icons on an accent-filled button take--tp-accent-ink, never the paper colour, which is dark in the dark theme. Watch the specificity while you’re at it: a reset written.yours button { color: inherit }outranks.yours-button { color: … }and quietly wins, so wrap such a reset in:where(). - Labels: the words the tool shows, one file per language, so they aren’t buried in the script. The script asks
for them by key with
t("key"). English is the fallback, key by key, so a half-finished translation shows its own words where it has them and English where it doesn’t. + adds a language, starting from English’s keys with the words blanked. - Preview: the tool running alone, as its window will show it. Until it’s saved, what it keeps lasts only as long as the preview, and it can’t reach other hosts.
A tool you make is yours alone: other users don’t see it.
What a tool’s script gets
Section titled “What a tool’s script gets”The default export is called with thingport when the window opens, and the function it returns is called when the
window closes:
export default async function mount(thingport) { const { root, theme, storage, models, collections, ui } = thingport; root.querySelector("#save").addEventListener("click", async () => { const collection = await ui.pickCollection({ title: "Save the bin to" }); if (!collection) return; const model = await models.create({ name: "Bin 2×3", collectionId: collection.id, files: [{ name: "bin.stl", data: stl }], }); ui.toast("Saved", "success", { openModel: model.id }); // with an Open button for the model }); return () => {}; // stop timers and remove window listeners here}thingport has the window’s element and size, the theme, storage kept for the user, their models and collections,
the dialog that asks which collection to save into, the models a repository tool brings, fetch through Thingport to
the hosts the tool declares, Thingport’s own API, and the libraries below. Each is in the
SDK reference, generated from the SDK itself, which also says what a widget has that
a tool doesn’t and the other way round. Your first tool builds one step by step, and
the recipes are complete tools to start from.
The words a tool shows
Section titled “The words a tool shows”A tool’s labels don’t belong in its script. Buried there they can’t be read as text, handed to a translator, or added to without touching the logic. So they sit beside it, one file per language:
tools/bin-planner/ tool.json "locales": ["en", "lt"] tool.js t("save.title") locales/en.json { "save.title": "Save to Thingport", "rings.ring": "Ring {n}" } locales/lt.json { "save.title": "Įrašyti į Thingport", "rings.ring": "Žiedas {n}" }Each file is a flat map of key to sentence — flat, because a tool looks a label up by its whole key, and because
nesting invites a file that is really a program. {name} in a sentence is filled in from what t is given.
Thingport reads the file matching the user’s language, and hands the tool t:
export default async function mount({ t, labels }) { labels(); // every data-t in tool.html, filled in badge.textContent = t("rings.ring", { n: 2 }); // "Žiedas 2"}The markup carries the key where the sentence would be, so a panel’s words need no script at all:
<h2 data-t="wall.title">Wall size</h2><button data-t="parts.copy" data-t-title="parts.copyHint">Copy</button>data-t sets the text; data-t-title, data-t-aria and data-t-placeholder fill those attributes. The English
left in the markup is what a reviewer reads, and what shows if the labels never arrive. Call labels() again after
adding more markup.
- The metadata’s
localeslists the languages the folder has; a language it names without a file is an error, not a shrug, so a missing translation can’t install quietly. - English is the fallback, key by key: a language that is half done shows its own words where it has them and
English where it doesn’t. A tool with labels needs
en. - A key with no words anywhere comes back as itself, so a label nobody wrote shows up in the window.
- The user changing language runs the tool again, as changing the theme does, so
tis read once at the top ofmountrather than watched. - A table of labels a tool builds up front — the sections of a settings dialog, the names of the parts it makes —
holds keys, and whatever shows them says them. A
t()at the top of the file would run before there is at. - A language Thingport doesn’t have is simply never asked for; a language the tool doesn’t have falls back to
English.
languageslists what Thingport has, if a tool wants to say so itself. - At most 128 KB a language and 1 MB in all.
The libraries a tool can borrow
Section titled “The libraries a tool can borrow”A tool is one script with a size limit, and a reviewer reads it before it’s merged, so the big machinery lives in
Thingport rather than in the tool: a font parser or a solid modelling kernel is most of a tool’s budget on its own,
and one of them is a WebAssembly binary nobody could read. thingport.library(name) hands over Thingport’s own copy
of Three.js, opentype.js, Manifold, its fonts or OpenSCAD, fetched the first time a tool asks and shared with every
tool after that.
What each one hands over is in the SDK reference. OpenSCAD renders in a
worker and entirely in the browser: the script, the parameters and the result go nowhere until the tool saves them. The
libraries a script may include are in frontend/src/assets/scadLibraries.
The fonts are all static faces, under the Open Font License, listed in
frontend/src/assets/toolFonts: a variable font’s letters come back collapsed,
as the parser doesn’t apply its deltas.
Sharing a tool
Section titled “Sharing a tool”A tool in the repository is a folder under tools/, listed in its index.json.
Tool development covers all of it — the fields and their limits, the models, the
screenshots and the checks — and this is the shape of it:
-
tool.json(ortool.yml): the metadata, as the editor’s Details make it, plusauthor, and the models it brings, if any:{"name": "Bin planner","version": "1.0.0","author": "Your Name","window": { "width": 1100, "height": 720 },"hosts": [],"category": "planners","locales": ["en", "lt"],"collection": {"name": "Bin parts","models": [{ "key": "baseplate", "name": "Baseplate 1×1", "files": ["models/baseplate.stl"] },{ "key": "tile-8x8", "name": "8×8 tile", "source": "https://thangs.com/m/974214" }]}}Each model has a
keythe tool finds it by, aname, and eitherfilesfrom the tool’s folder, which the repository may carry only when the design’s licence allows it, or asourcepage Thingport imports when an admin installs the tool.screenshotslists up to eight PNG, JPEG or WebP pictures in its folder, each{ "file", "caption" }, which admins look through before installing it. TheiconUrlmay also be an SVG as adata:image/svg+xmladdress, so the icon comes with the tool. -
tool.jsand, optionally,tool.html. -
locales/<code>.json: the words it shows, for each language its metadata’slocalesnames. See the words a tool shows. -
README.md: what it does, what it reaches, and where its models come from.
Open a pull request; a check validates the folder (npx tsx scripts/validateTools.ts in backend/ runs it locally), and
a maintainer reads the code. The tools README lists what reviewers look for.
Where the tools come from
Section titled “Where the tools come from”Administration → Tools says which of these it’s reading:
| Thingport running | Offers the tools from |
|---|---|
From a checkout: npm run dev (development) | The checkout’s own tools folder, read afresh each time: edit, then refresh |
The local docker-compose.yml, which builds from the checkout | The checkout’s tools folder, mounted into the backend |
The :dev image | The repository’s develop branch on GitHub |
The :latest image, or a version’s | The repository’s main branch on GitHub |
TOOLS_DIR points the backend at any folder instead, and TOOLS_URL at another repository’s tools folder as raw
files, such as a fork’s (https://raw.githubusercontent.com/<you>/Thingport/<branch>/tools). From GitHub, the list is
read again at most hourly; installing or updating a tool always reads it afresh.
Feedback
Section titled “Feedback”Something unclear, wrong or missing on this page? Say so here, or react. It’s kept in GitHub Discussions. Something broken? Report it as a bug.